Chat with us, powered by LiveChat

QuickHomeservices Get Support 24/7

CMS Pages

The CMS feature lets admins easily create and manage all essential static pages like FAQs, Terms of Use, and more—without writing a single line of code.

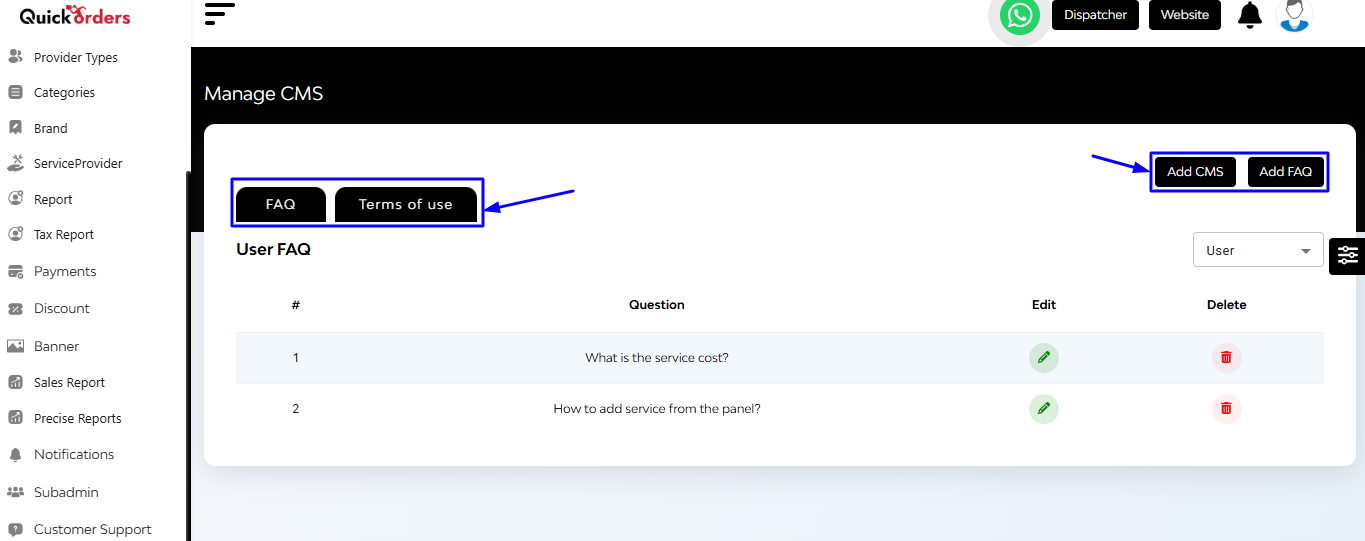
Adding or Editing FAQs

  1. Go to the FAQ section within CMS
  2. Click Add FAQ
  3. Fill in:
    • Question Title
    • Answer Content
  4. Click Save to make it live under the FAQ tab

Terms of Use

The admin can define the rules of engagement for partners. This section typically includes:

  • Acceptance of Terms
  • User Eligibility
  • User Account
  • Service Provided
  • Payment
  • Cancellation
  • Returns

Edit, View, and Delete icons are conveniently located at the top right for quick modifications.

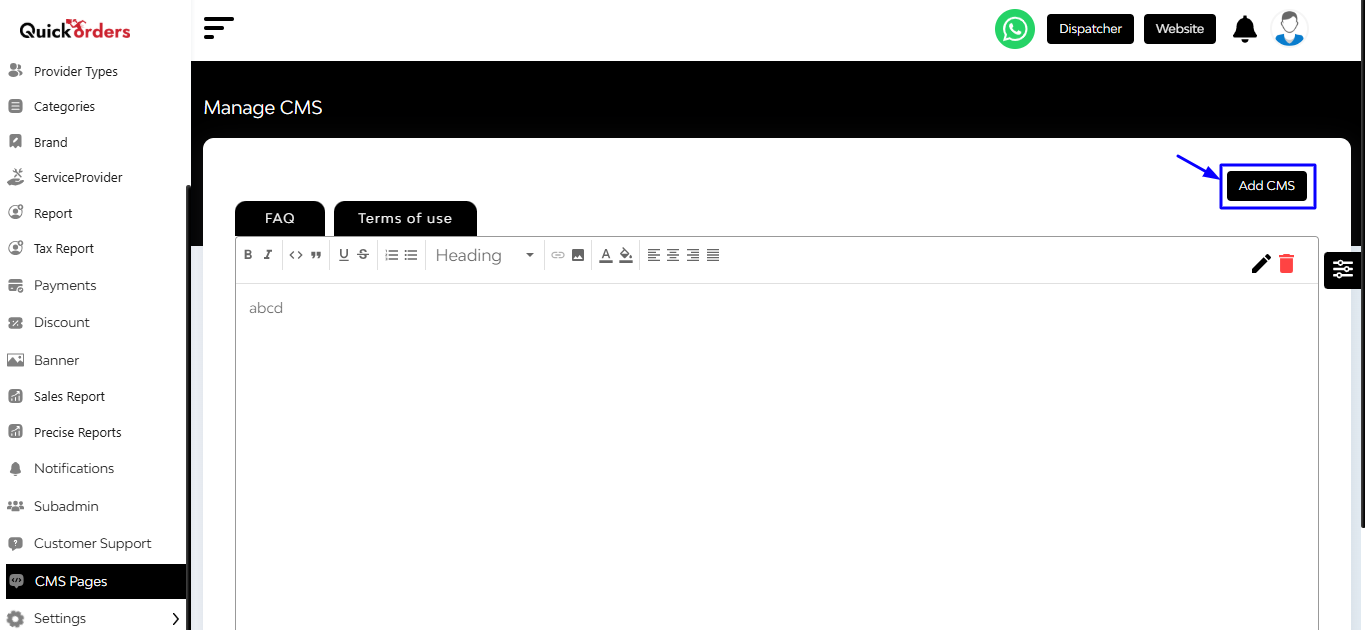
How to Add a New CMS Page

  1. Navigate to Admin Panel → CMS
  2. Click on “Add CMS Page”
  3. Fill in:
    • CMS Title
    • Platform Type (app, website, merchant)
    • Show Type (signup, account, checkout)
  4. Enter the content
  5. Click Add to publish it

FAQ's

The “Manage CMS Pages” section allows the admin to create, edit, and manage static content displayed to users on the website, mobile app, and merchant panel. This includes FAQs, Terms of Use, Privacy Policy, and other informational content.

Admins can manage the following:

  • FAQs (Frequently Asked Questions)
  • Terms of Use
  • Privacy Policy
  • Custom content pages (e.g., Refund Policy, About Us, etc.)

To add a new FAQ:

  • Go to the FAQs tab.
  • Enter the question.
  • Enter the answer.
  • Click on Add.

The FAQ will be listed immediately and shown to users on the platform.

Yes, existing FAQs can be edited or deleted using the respective action buttons available next to each FAQ in the listing.

  • Navigate to the respective section (Terms of Use or create a new CMS Page for Privacy Policy).
  • Use the rich text editor to edit the content.
  • Save the changes, and the content will be updated for users accordingly.

Yes. While creating a new CMS page, you can define:

  • Display Location (Website, Merchant Panel, App)
  • Show Type (Sign Up, Checkout, Account section)

This helps ensure the content appears exactly where you want it in the user journey.

  • Click on Add New Page.
  • Enter the Page Title (e.g., Refund Policy).
  • Select where you want it to be displayed (Website, App, etc.).
  • Choose the Show Type.
  • Write the content.
  • Click Add to publish the page.

Yes, you can define the Show Type to control this. For example:

  • Select Sign-Up to show it during registration.
  • Select Account or Checkout if you want it in those areas.

While not technically mandatory from the system’s perspective, it is legally recommended to include policies like Privacy Policy and Terms of Use, especially when dealing with user data or payments.

Once you add a new CMS page:

  • It appears in the CMS content list.
  • It becomes accessible to users based on your selected platform (Website/App/Merchant).
  • You can edit or deactivate it anytime.

As of now, the system supports basic content input. If your platform supports multilingual setups, CMS sections might need enhancement to manage translations separately or via language tags.

Currently, there is no live preview option. However, after adding the content, you can log in as a user or merchant and navigate to the assigned section (e.g., Sign-Up page) to view the live output.