Chat with us, powered by LiveChat

QuickHomeservices Get Support 24/7

Banner

The Banner module lets admins create, schedule, and target vibrant promotions, whether they’re everyday hero images or limited-time offers.

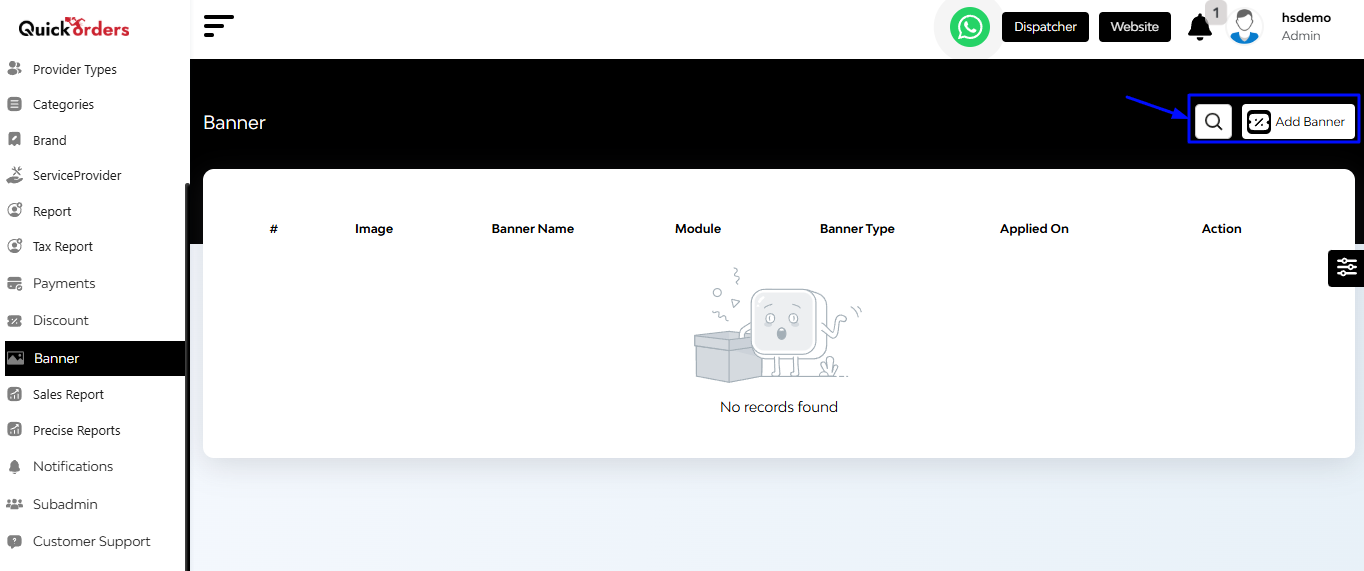
Banner Table Overview

The table displays banners based on:

  • Image
  • Banner Name
  • Module
  • Banner Type
  • Applied On
  • Action (Edit/Delete)

Top Right Functional Buttons

  • Search Bar – Quickly find banners by name or type
  • Add Banner – Launch the banner creation form

+Add Banner


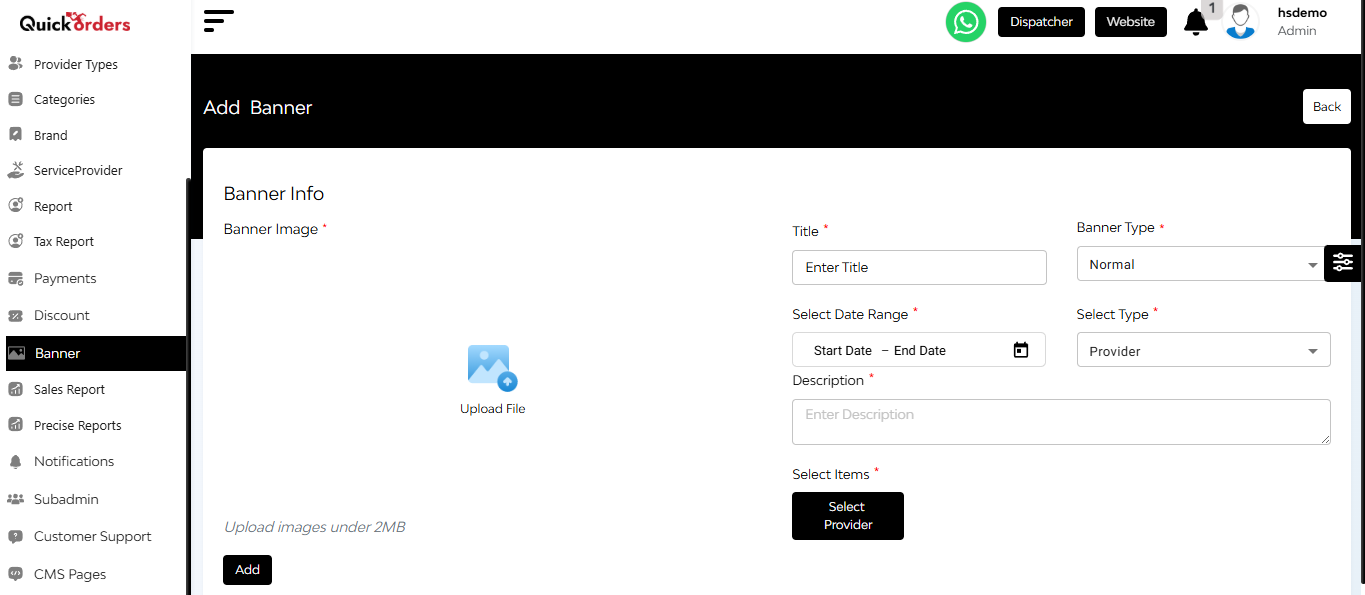
Click Add Banner to open a step-by-step pop-up form:

  • Upload Banner Image
  • Title
  • Banner Type:
    • Normal – Everyday graphics
    • Offer – Discount or promo visuals
    • Advertisement – Sponsored creatives
  • Date Range
  • Select Target Type (Choose from Provider Type, Category, Sub-Category, Brand)
  • Description
  • Select Item – Tap to open a multi-select list and pick individual providers or Select All

Click Add to publish the banner.

FAQ's

The Banner section allows the admin to manage promotional or informational banners that appear on the user application. These banners can be used for offers, advertisements, seasonal campaigns, or important announcements.

The banners are typically displayed on the homepage or dashboard of the user-facing app. The exact placement depends on the front-end configuration but is usually at the top or in a carousel.

Each banner includes:

  • Banner Title
  • Banner Image
  • Banner Type (Informational / Offer / Advertisement)
  • Display Date Range (Start and End Dates)
  • URL Link (optional, for redirection)
  • Description
  • Action buttons to Edit or Delete

To add a new banner:

  1. Enter a Banner Title (e.g., “Summer Sale”).
  2. Select a Banner Type from the dropdown.
  3. Define the Date Range for visibility.
  4. Add a Redirect URL if needed.
  5. Enter a short Description.
  6. Upload a Banner Image (from your local device).
  7. Click Add – the banner will be added to the list.

Yes. You can select a future date range while adding the banner. The system will automatically show or hide the banner according to the configured start and end dates.

Once the end date passes, the banner automatically becomes inactive and stops showing to the users, even though it still remains visible in the admin panel list for editing or record purposes.

The URL field is used to define a clickable link for the banner. When a user clicks the banner on the app, they will be redirected to this URL – which could lead to a product page, service, blog, or external offer.

Yes. Each banner listing has an Edit option. You can change any detail, including the title, type, image, date range, or description. Make sure to update the changes to reflect them.

The admin can select from the following banner types:

  • Informational – for non-promotional announcements
  • Offer-Based – to promote discounts or deals
  • Advertisement – for general marketing or sponsored content

Yes. A search bar is available at the top of the banner listing. You can enter the banner name or a keyword to instantly filter the list and find a specific banner.

Yes. Use the Delete action from the banner list to remove it permanently. Deleted banners will no longer appear in the admin panel or the user interface.

The recommended banner image size depends on the app layout but typically ranges around 1200px by 400px (landscape format) for optimal mobile display. Ensure it’s high resolution and lightweight.

While the admin panel doesn’t have a direct preview feature, once added, you can check the user app interface during the configured date range to verify how the banner appears live.

Yes. You can edit an existing banner and update its content or date range to reuse it for another campaign. Alternatively, you can duplicate the banner manually by re-adding the same details.